

वास्तविक स्थानीयकरण शब्दों से परे जाता है; इसके लिए आवश्यक है स्थानीय टाइपोग्राफ़िकल मानकों के साथ दृश्य संरेखण. एक फ़ॉन्ट जो अंग्रेज़ी (लैटिन लिपि) में आकर्षक दिखता है, वह हिंदी (देवनागरी) या अरबी में खराब दिख सकता है। मल्टीलिपि आपको विशिष्ट इंजेक्ट करने की अनुमति देता है विशिष्ट भाषाओं के लिए Google फ़ॉन्ट, यह सुनिश्चित करते हुए कि आपके अनुवादित पृष्ठ देशी और भरोसेमंद महसूस हों।
यह गाइड विस्तृत करती है कि इसके लिए सटीक प्रोटोकॉल क्या है Google से फ़ॉन्ट एसेट प्राप्त करना और उन्हें अपने MultiLipi कमांड सेंटर में कॉन्फ़िगर करता है।
1. संपत्ति तैयारी (Google फ़ॉन्ट्स)
डैशबोर्ड को कॉन्फ़िगर करने से पहले, आपको Google से सही फ़ॉन्ट एंडपॉइंट जेनरेट करना होगा।
फ़ॉन्ट परिवार चुनें:
- •नेविगेट करें Google फ़ॉन्ट्स.
- •अपने वांछित टाइपफ़ेस की खोज करें (उदाहरण के लिए,
"Roboto"या"Baloo 2"). - •फ़ॉन्ट कार्ड पर क्लिक करके उसका विवरण खोलें।

शैलियाँ चुनें:
- •पर क्लिक करें "फ़ॉन्ट प्राप्त करें" ऊपरी-दाएँ कोने में बटन।
- •कॉन्फ़िगरेशन पृष्ठ पर, क्लिक करें "एम्बेड कोड प्राप्त करें".
आयात लिंक उत्पन्न करें:
- •बाएँ पैनल में, उन विशिष्ट वज़न/शैलियों का चयन करें जिनकी आपको आवश्यकता है (जैसे,
नियमित 400,बोल्ड 700). - •महत्वपूर्ण चरण: दाएँ पैनल में, चुनें "वेब" और सुनिश्चित करें कि आप क्लिक करते हैं
"@import"( "लिंक" के बजाय)। - •कोड ब्लॉक में उत्पन्न URL को कॉपी करें।
2. अवसंरचना विन्यास
एक बार जब आपके पास अपनी संपत्ति लिंक हो, तो इसे अनुवाद इंजन में इंजेक्ट करें।
भाषा सेटिंग्स पर नेविगेट करें:
- •अपने MultiLipi एडमिन पैनल में लॉग इन करें।
- •बाएँ साइडबार में, पर क्लिक करें भाषाएँ के अंतर्गत है अनुवाद अनुभाग।
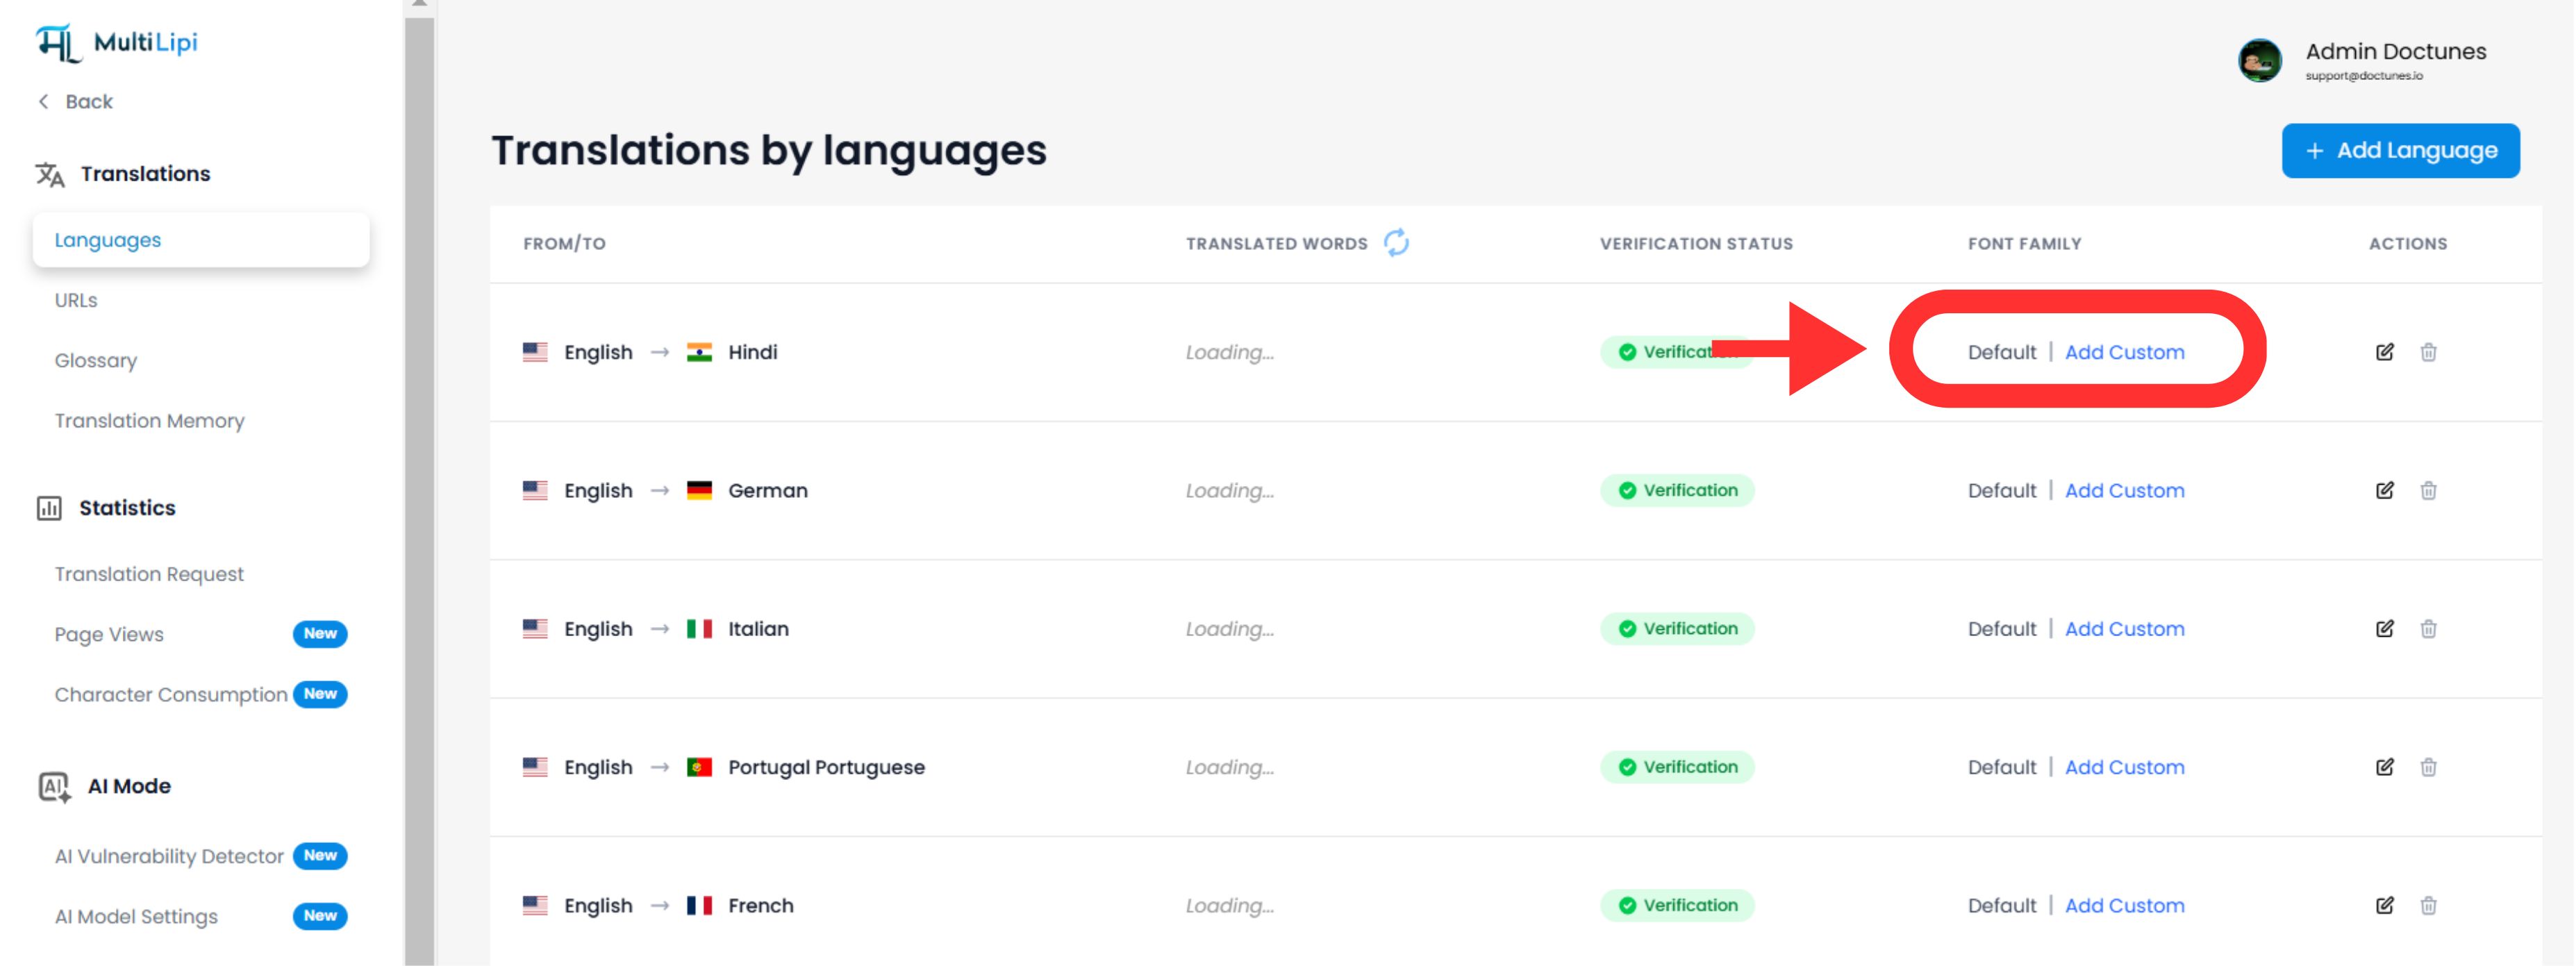
फ़ॉन्ट इंजेक्शन प्रारंभ करें:
- •उस विशिष्ट भाषा पंक्ति का पता लगाएं जिसे आप संशोधित करना चाहते हैं (उदाहरण के लिए, हिन्दी).
- •पर क्लिक करें
"फ़ॉन्ट जोड़ें"उस भाषा के बगल में "फ़ॉन्ट जोड़ें" बटन।
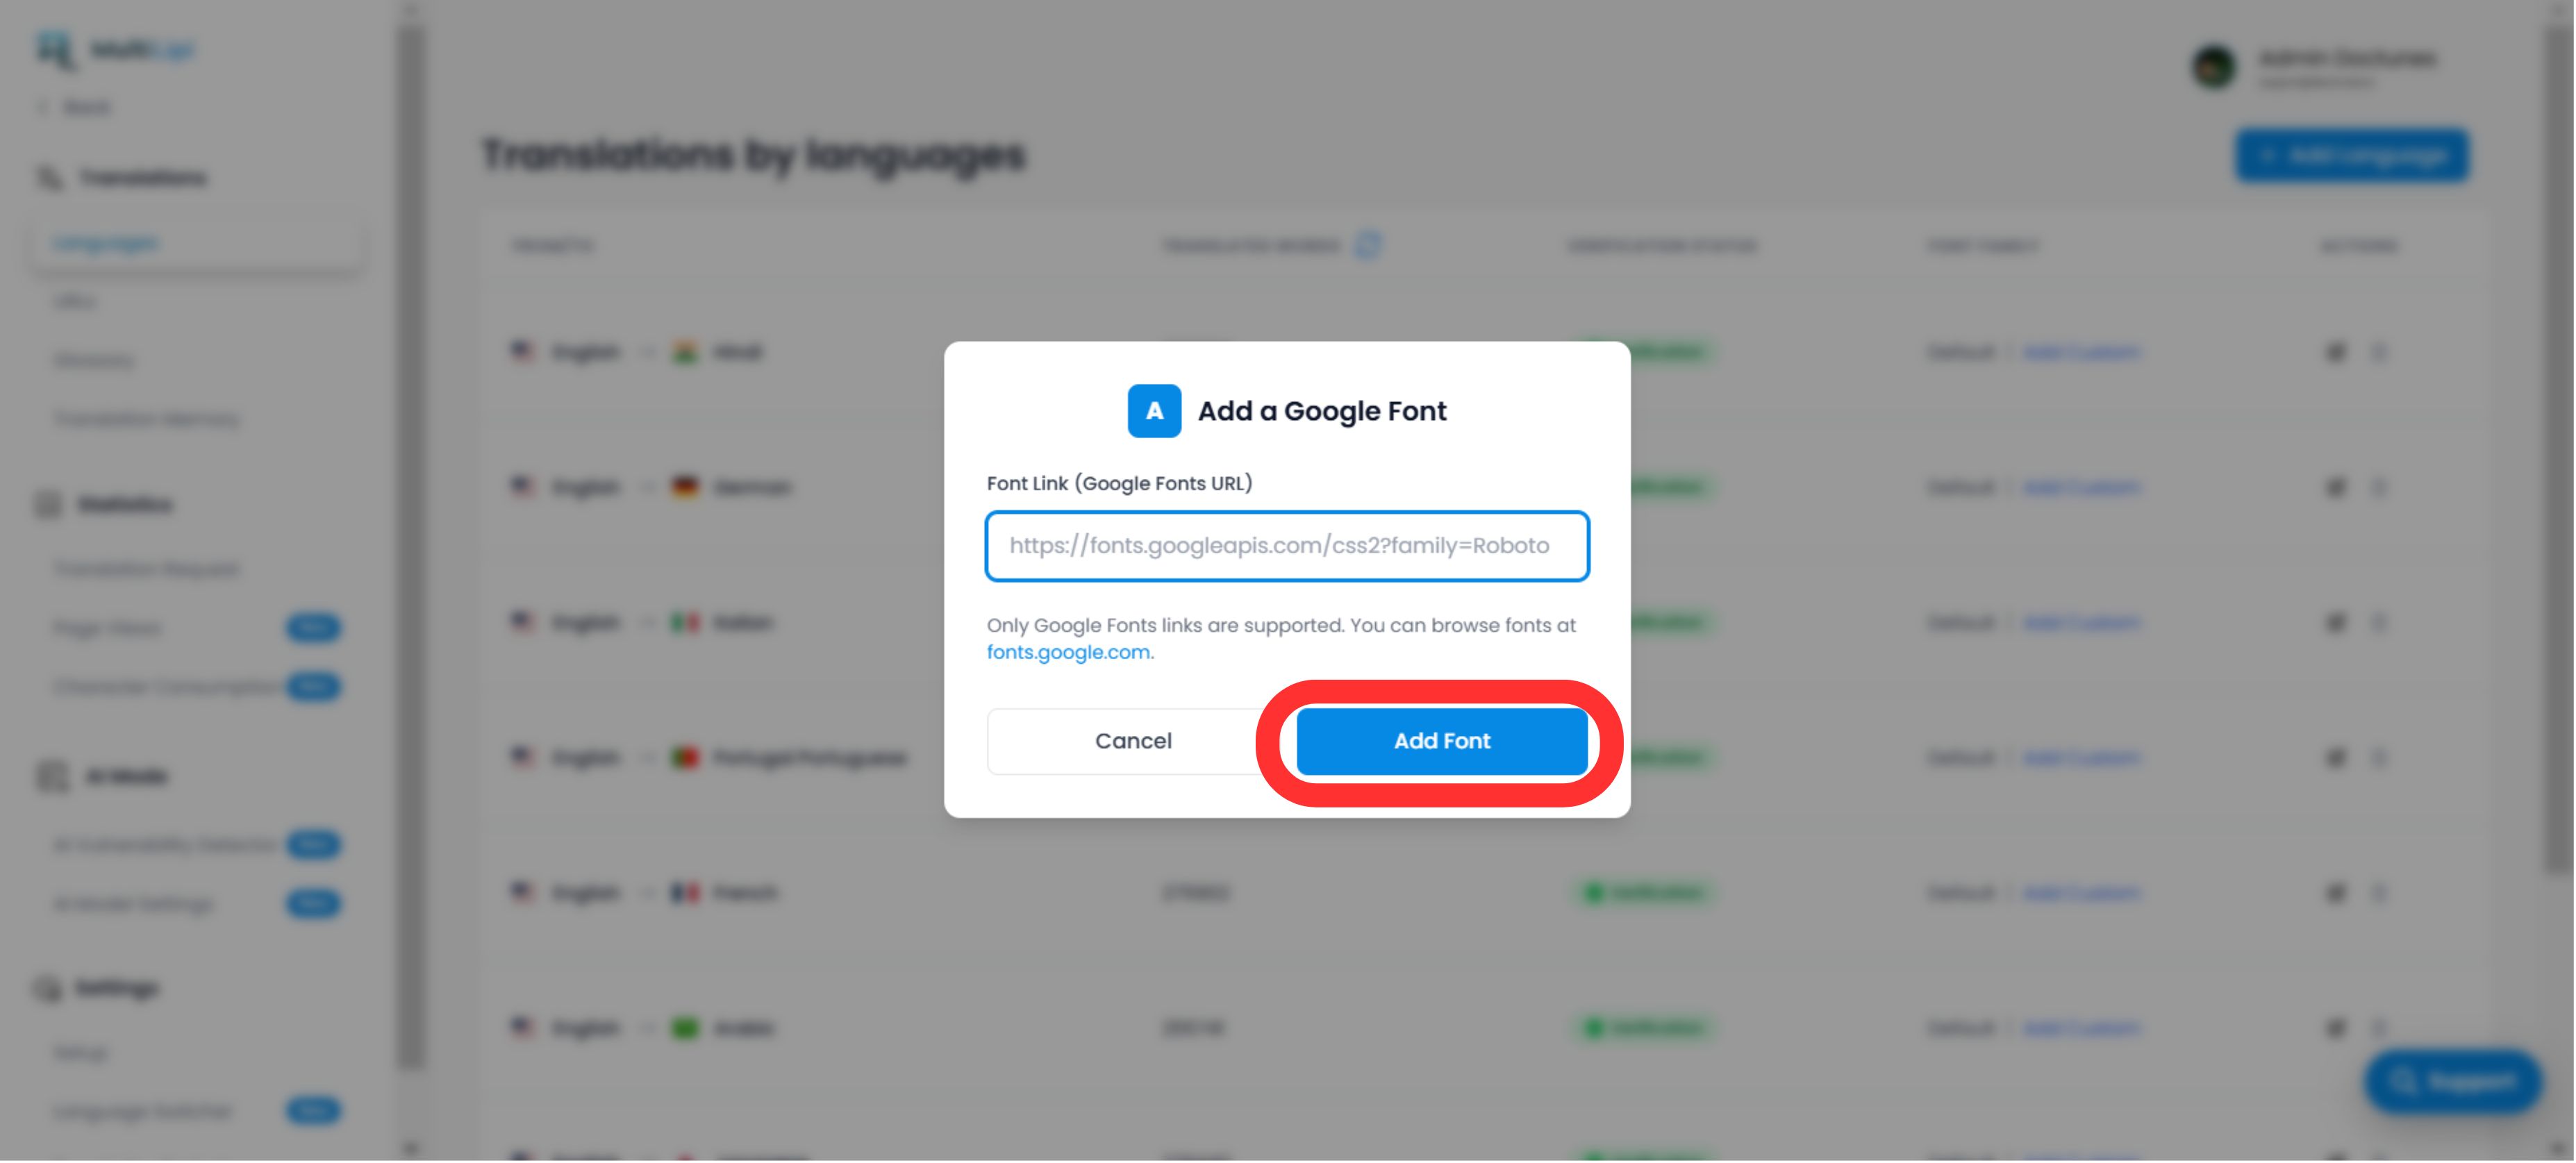
एसेट को डिप्लॉय करें:
- •एक पॉपअप मोडाल दिखाई देगा।
- •पेस्ट करें: वह Google फ़ॉन्ट URL डालें जिसे आपने चरण 1 में कॉपी किया था।
- •निष्पादित करें: क्लिक करें
सबमिट करें.
3. सत्यापन और रेंडरिंग
तत्काल परिनियोजन:
सबमिट करने के बाद, फ़ॉन्ट स्वचालित रूप से लागू आपकी साइट के उस विशिष्ट भाषा संस्करण के लिए। कोई CSS या मैन्युअल कोड परिवर्तन आवश्यक नहीं है.
डिफ़ॉल्ट फ़ॉलबैक:
यदि किसी भाषा के लिए कोई कस्टम फ़ॉन्ट नहीं जोड़ा गया है, तो सिस्टम आपकी वेबसाइट को रेंडर करना जारी रखेगा डिफ़ॉल्ट फ़ॉन्ट परिवार.
तकनीकी नोट:
- •सुनिश्चित करें कि आप एक पेस्ट कर रहे हैं वैध Google फ़ॉन्ट्स URL.
- •सिस्टम इस फ़ॉन्ट को लागू करता है केवल लक्ष्य भाषा के लिए, स्रोत भाषा के लिए आपके मूल डिज़ाइन को संरक्षित करते हुए।